Most of your finds will come out of the ground covered in sand and dirt, perhaps even stained with iron however Azurite & Malachite are very fragile and will slowly erode even with a delicate touch. Follow the instructions below to clean them safely.

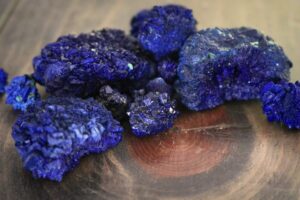
These instructions focus on azurite rosettes, blueberries and similar structures as well as malachite specimens. These minerals have a Mohs hardness of about 3.5 to 4 and therefore require a delicate touch. Aggressive physical cleaning should be kept to a minimum to avoid damaging the finds.
Before any heavy cleaning, give your pieces a simple rinse to remove loose dirt and mud; treat your prize finds with care. Soak in water overnight, clean and rinse thoroughly, dry completely and look them over. After this step some of your finds may be clean and ready to go.
After rinsing your finds, depending on what you find, follow the steps below to continue cleaning your pieces. There is no specific cleaning order. Typically you should start by removing any biological coatings, then hard clay & dirt coatings before moving onto any harder deposits. Keep in mind the more time you spend cleaning, the more you increase the chance of damaging your finds. Do as much effective cleaning as possible in as short amount of time as you can.

TOOLS
Check yourself before you wreck yourself.
The more tools the better but here is a list of what you will need at minimum to effectively clean.

- Sieve, Tight Mesh
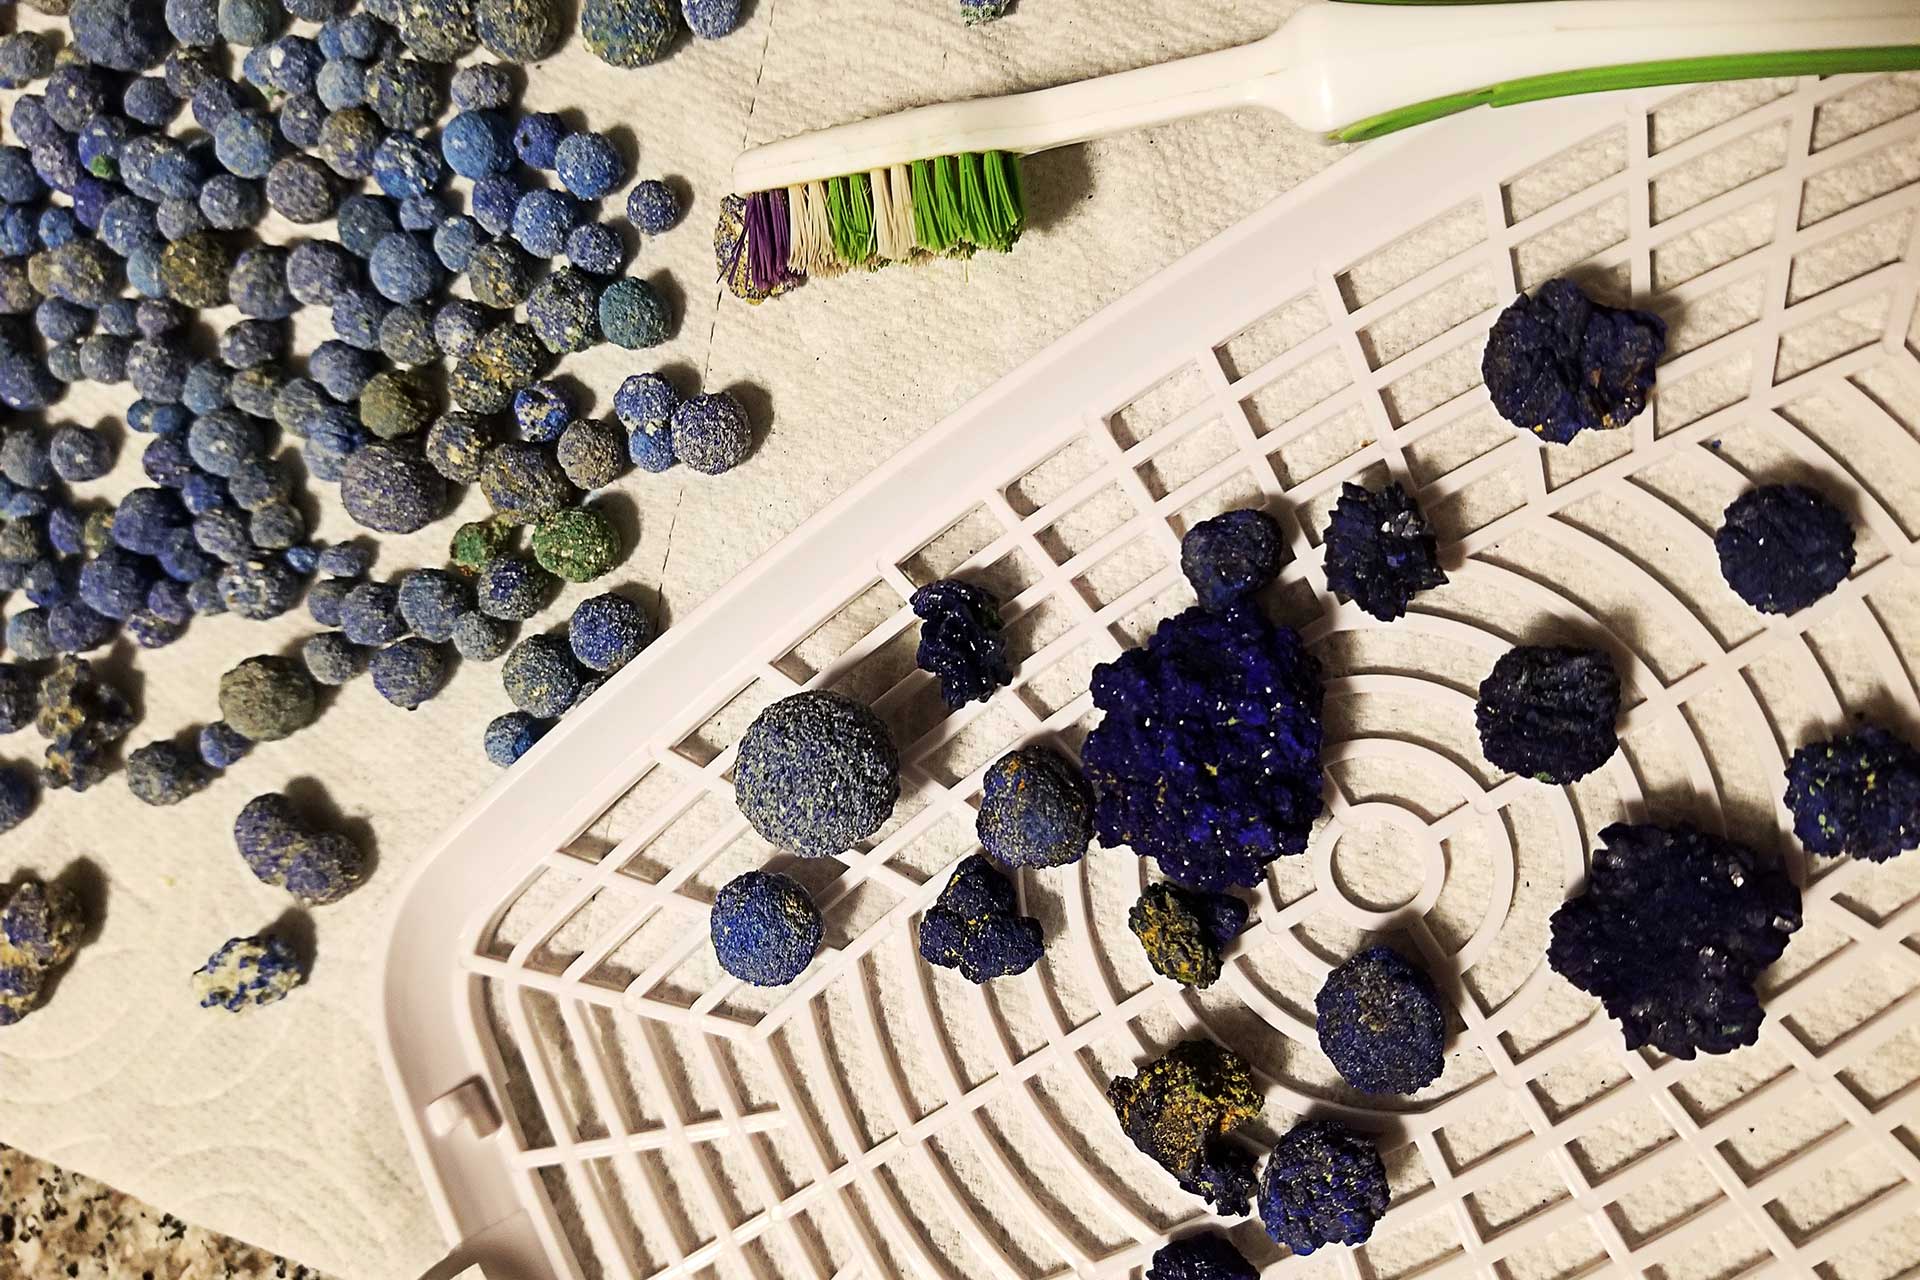
- Brushes; Toothbrushes, Nail Brushes, Nylon Cleaning Brushes
- Dental Picks
- Bamboo Skewers & Toothpicks
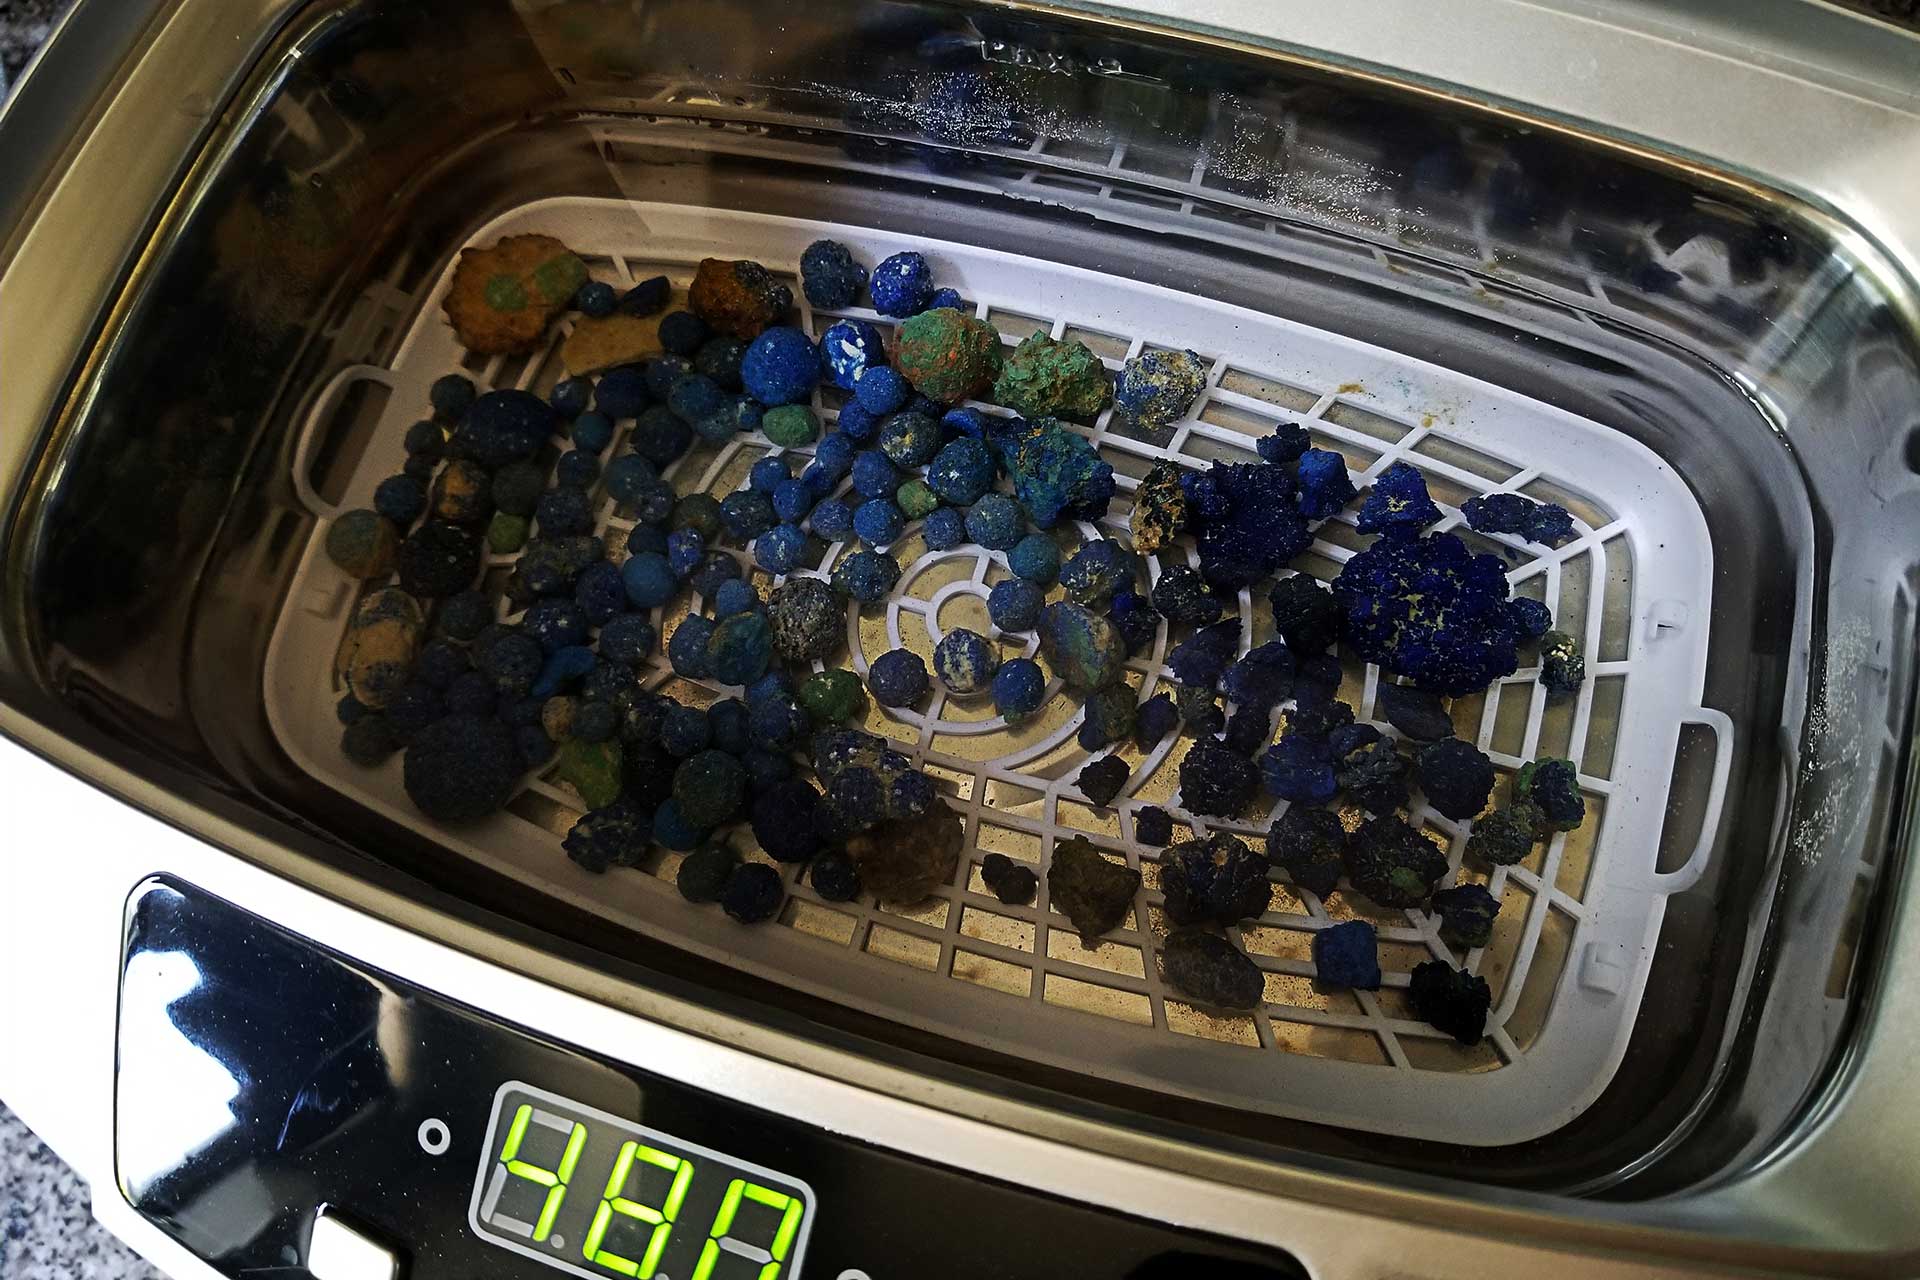
- Ultrasonic Cleaner
- Textile Spot Cleaning Gun
- Buckets
- Safety Glasses
- Rubber Safety Gloves
Chemicals & Acids
- Distilled Water
- Chlorine/Bleach
- Acetic Acid/Vinegar
BIOLOGICAL COATINGS
A simple soaking overnight in bleach will loosen and remove most biological coatings like moss and lichen. Use brushes and wooden tools for persistent stains.
Rinse and soak with clean tap water for 24 hours and then dry completely.
Tough to remove items like roots and other debris may be cleared with more aggressive techniques but be careful.
SAND, CLAY & DIRT
For pieces that are heavily coated with sand and dirt start with a good rinsing under water in a sieve. Follow with a thorough cleaning in an ultrasonic cleaner. Most of the loose dirt will be cleaned in his process. In the case of stubborn dirt, dry the specimen to loosen the dirt and then treat in the ultrasonic cleaner again. This process can be repeated however each session will slowly degrade the specimens.
Deep Set Non-Mineral Coatings
If deep set dirt and debris remain after cleaning with manual means; it is time to move up to a more aggressive technique to remove stubborn deposits. Using a Waterpik or Textile Spot Cleaning Gun is ideal for this however you do risk damaging specimens if used to aggressively. Due to the delicate nature of Azurite and Malachite use with extreme caution to remove deep set dirt and other deposits from your pieces and let dry, respray if needed. Any deposits remaining at this point call for direct mechanical removal.
IRON STAINING
Removing iron staining can prove to be a difficult challenge. Chemical cleaning with traditional rust removers will ruin your specimens; leaving them covered in a black stain. It is advisable to try physical removal using lightly abrasive techniques such as toothbrushes, skewers, dental picks, waterpik, and textile spot cleaning gun.
If you do choose to try chemical removers and end up with stained specimens, soak them in vinegar (acetic acid) until the stain is removed but use cautiously as vinegar will slowly dissolve the specimen.
FINISHING
After all the dirt and deposits have been removed give your pieces a final examination. If you are satisfied they are ready for display. Exercise caution displaying specimens that are UV reactive or that will fade in direct sunlight. When your pieces get dirty from display over time take a quick pass under water in a sieve and dry.
Any questions let us know and remember, start with a junker!


This was good information to use. Things I wasn’t aware of. Thanks