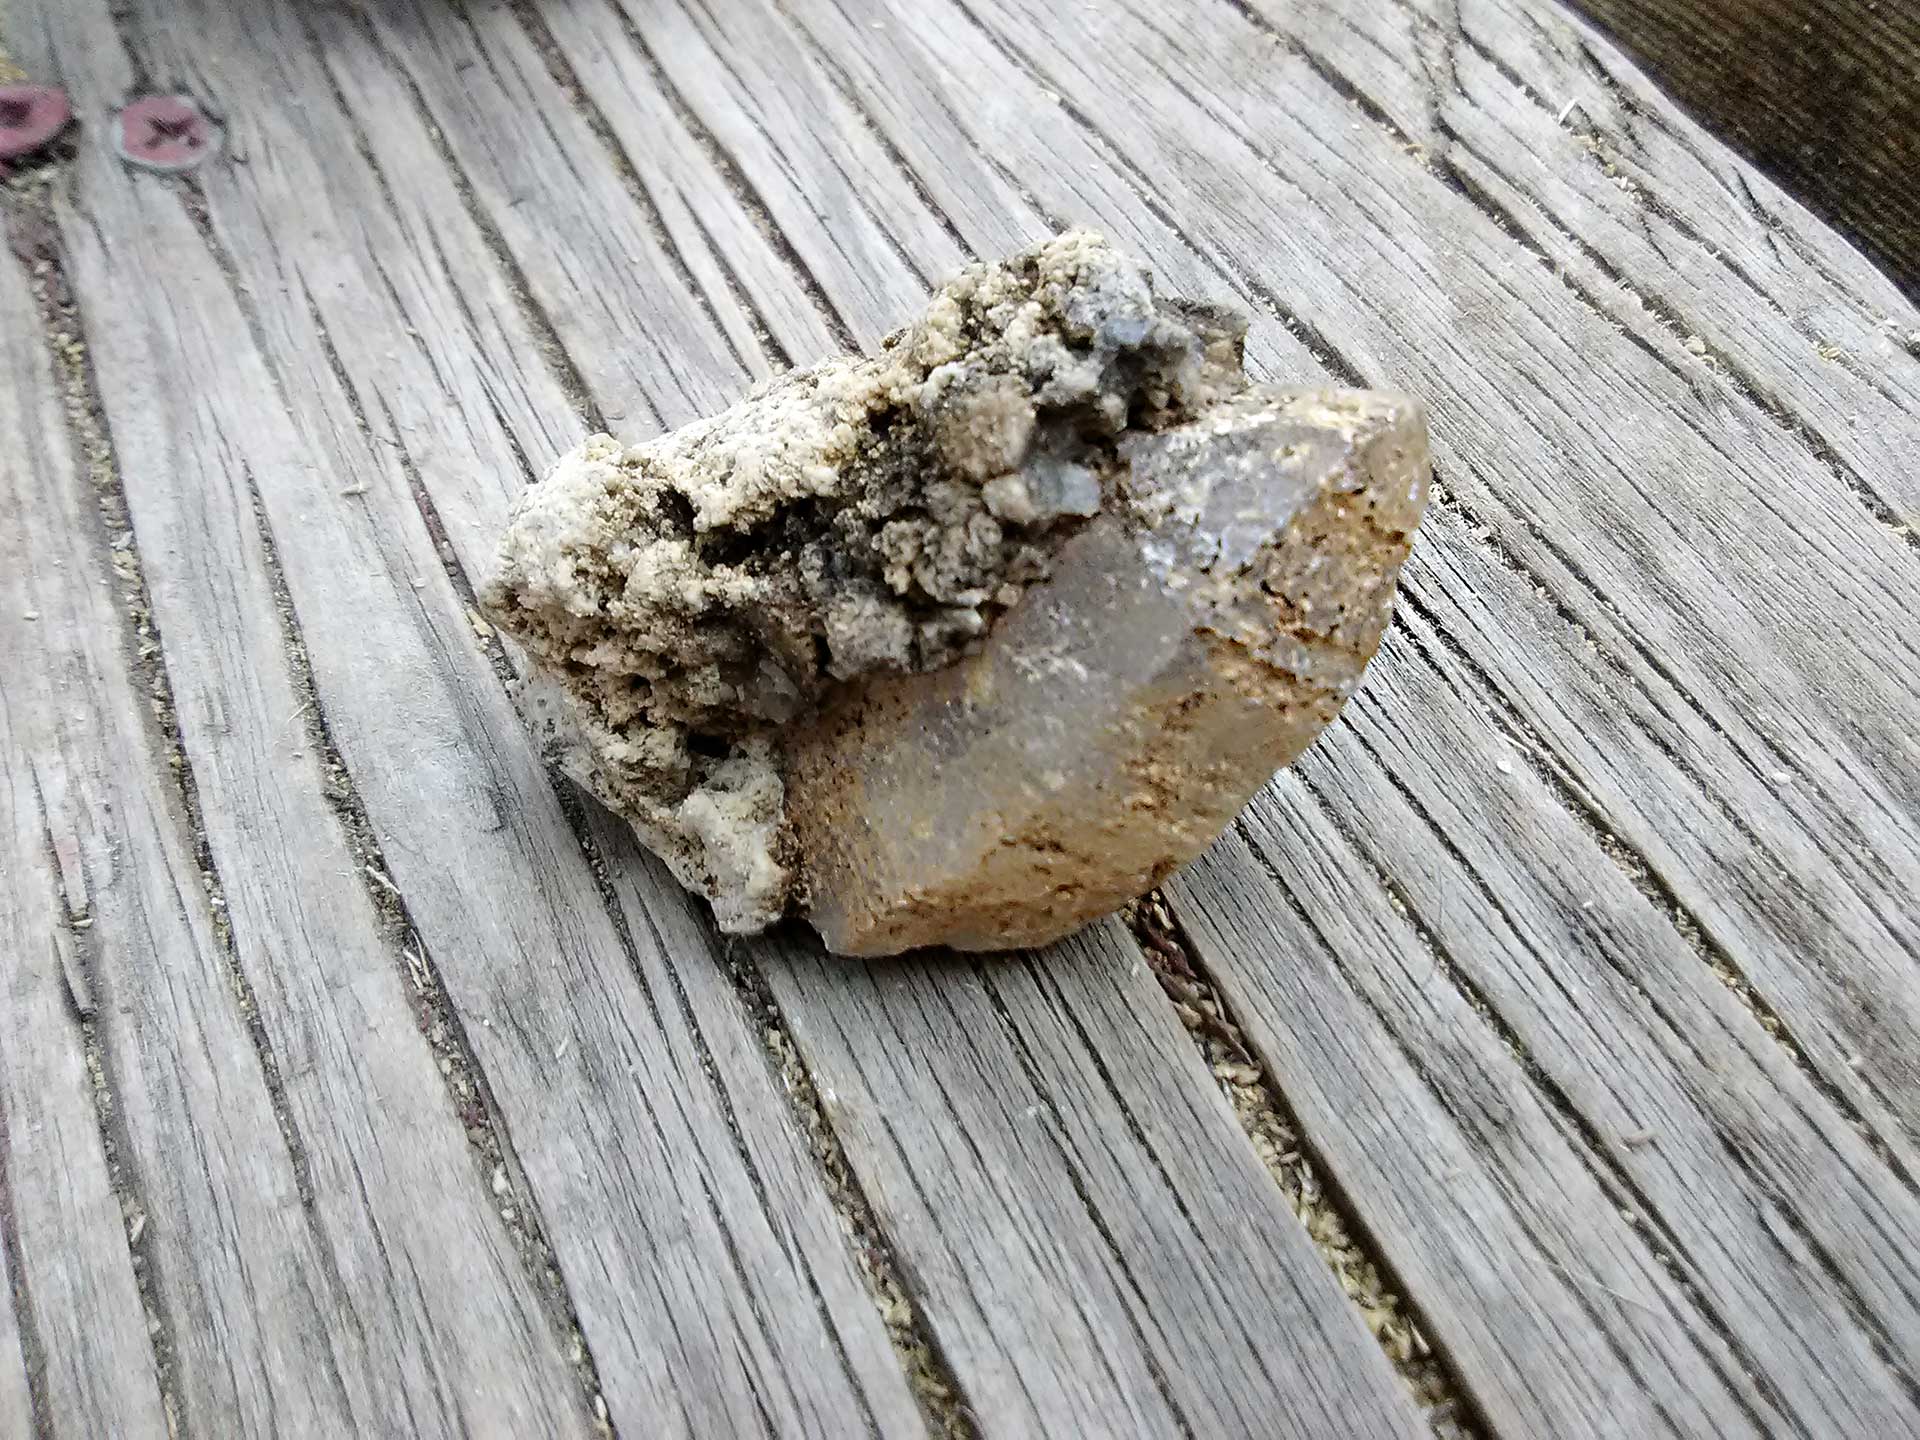
Most of your crystals and other finds will come out of the ground encased in clay, covered in iron and even harder materials like calcite, limestone, and rhyolite. Removing each of these requires a different approach.

Most crystals and finds come with more than one substance coating them and those coatings may be obscuring delicate and fragile structures.
Before any aggressive cleaning, it is advisable to start with a thorough hand cleaning and examination with water and brushes; treat your prize finds with care. Soak in water overnight, clean and rinse thoroughly, dry completely and look them over. After this step some of your finds may be clean and ready to go; most will likely require more work however.
Depending on what you find, follow the steps below to continue cleaning your pieces. While there is no specific cleaning order typically you should start by removing all biological, clay & dirt coatings before moving onto the iron and harder deposits. As you proceed keep in mind that the more time you spend cleaning and exposing your pieces to chemicals, the more you increase the chance of damaging them. Do as much effective cleaning as possible in as short amount of time as you can.
TOOLS
Check yourself before you wreck yourself.
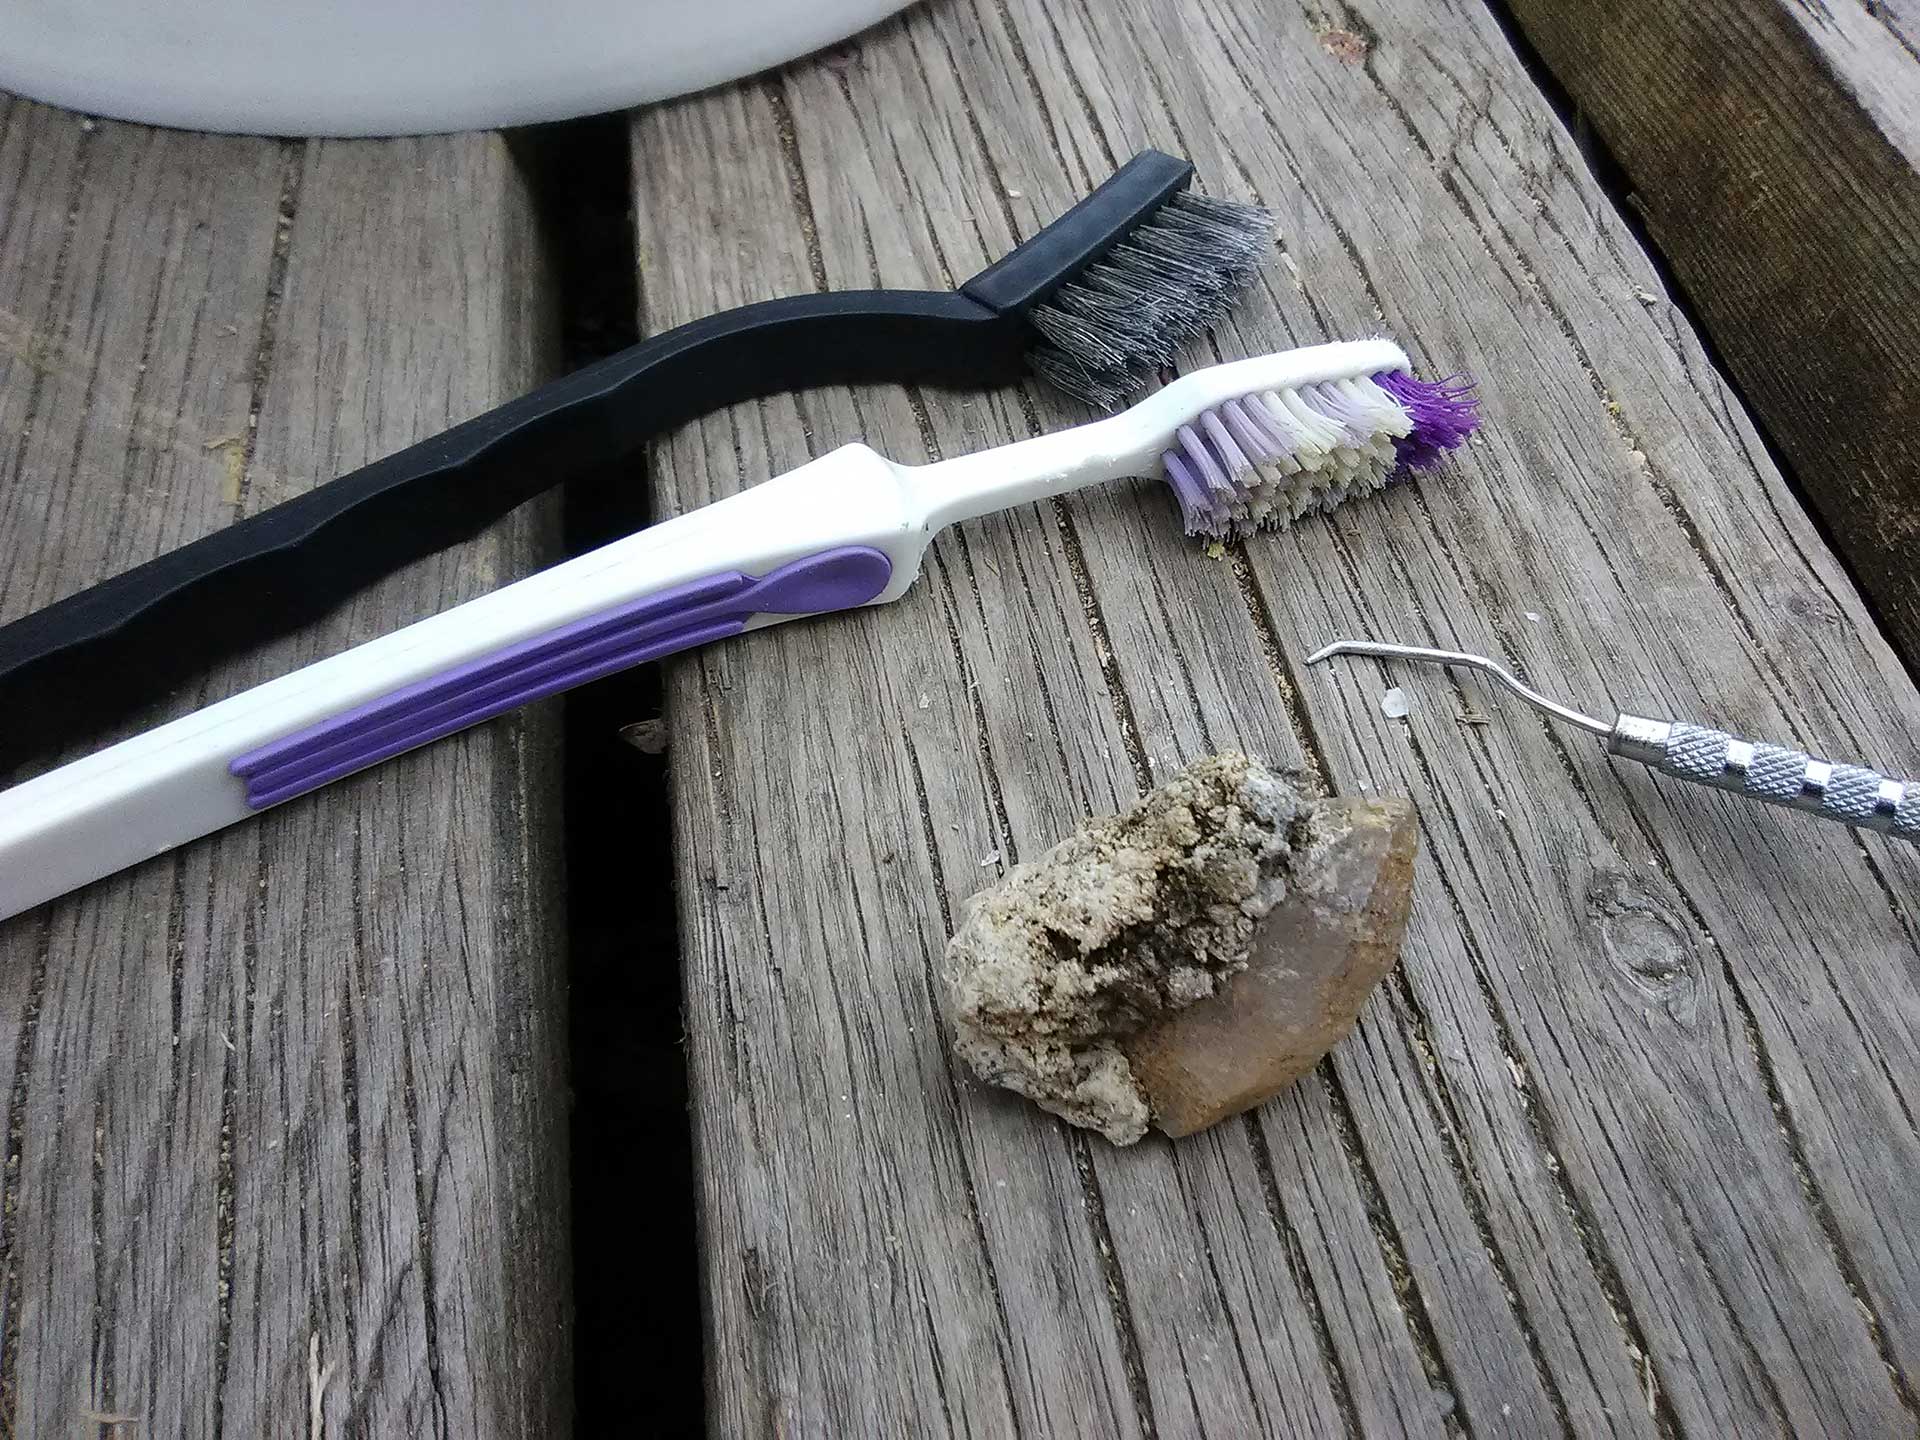
The more tools the better but here is a list of what you will need at minimum to effectively clean.

- Brushes; Toothbrushes, Nail Brushes, Nylon Cleaning Brushes
- Plastic Slotted Spoon or Tongs
- Dental Picks
- Bamboo Skewers & Toothpicks
- Buckets
- Safety Glasses
- Rubber Safety Gloves
- Mask/Respirator
- High Pressure Hose
Chemicals & Acids
- Distilled Water
- Baking Soda
- Chlorine/Bleach
- Ammonia
- Acetic Acid/Vinegar
- Iron Out/ Super Iron Out powder
- Oxalic Acid
- Phosphoric Acid
- Muratic Acid
Optional Items
- Textile Spot Cleaning Gun
- Ultrasonic Cleaner
- Dremel/Rotary Tool
BIOLOGICAL COATINGS
A simple soaking overnight in bleach will loosen and remove most biological coatings like moss, lichen, and roots. Use brushes and wooden tools for persistent stains.
Rinse and soak with clean tap water for 24 hours and then dry completely before exposing to any other chemicals.
Tough to reach items like roots and other debris may be removed with the textile spot cleaning gun, discussed in the clay & dirt section.
CLAY & DIRT
For pieces that are heavily coated with clay and mud start with a simple cleaning of warm water, toothbrushes, dental picks, bamboo skewers, etc. Soak the crystals overnight, brush them down and spray them off the next day. Let them dry completely allowing the remaining clay to crack and loosen. Repeat the process until the dirt and clay are removed. Be sure not to use tools that are harder than your material as they may scratch; steel for instance will scratch stone softer than quartz.
Cleaning Clusters
Go easy and use light pressure with clusters. They may be attached with only the slightest of adhesion and any pressure will sever that. Some pieces you thought were clusters may even be multiple crystals encased in a single ball of tough clay.
Deep Set Non-Mineral Coatings
If deep set dirt and debris remain after cleaning with manual means; it is time to move up to a more aggressive technique to remove stubborn deposits. This is where our favorite tool comes out! The Textile Spot Cleaning Gun. This device will almost clean rust off of specimens it is so powerful. Use with caution to remove deep set dirt and other deposits from your pieces and let dry, respray if needed. Any deposits remaining at this point call for either chemical treatments or direct mechanical removal.
IRON STAINING
Removing the red iron staining can prove to be one of the more difficult challenges of cleaning quartz and specimens and is nearly impossible to remove physically so the most common approach is with the use of chemicals; anything that breaks down rust without damaging your pieces will do. We will narrow this to the most common and readily available solutions; Iron Out/Super Iron Out, a commercial toilet and drain cleaner; oxalic acid, commonly called wood bleach; and phosphoric acid, commonly sold as stone and tile cleaner or in naval jelly. These chemicals are available through retail outlets or online.
The goal is to soften large deposits first, then persistent staining and small, micro staining. Specimens may come out clean after any of the following steps and we suggest stopping there to minimize possible damage to the finds and to reduce exposure to chemicals.
Be sure to soak your finds in water prior to any chemical treatment to saturate any matrix or host rock that may absorb chemicals.
Be sure to rinse and soak your finds in tap water for 24 hours between different steps.
CALCITE, BARITE, & LIMESTONE
Again, chemicals are the common way to clean off these coatings. Usually acetic acid (vinegar) or formic acid are used; however stronger acids like muratic acid can be used if needed. After these treatments be sure to soak with clean water as suggested to remove all residual chemicals.

RHYOLITE & BEYOND
Some coatings and deposits will resist even the toughest chemicals. At this point you will need to move to mechanical physical removal.
We have already introduced the textile spot cleaning gun however it should be listed here again as it falls under the mechanical removal methods. An ultrasonic cleaner wont remove rhyolite but it is a physical cleaning method to add to your cleaning arsenal.
FINISHING
After all the dirt and deposits have been removed give your pieces a final hand cleaning with a toothbrush and cotton cloth to remove dust and oils from your hands. Final pieces are ready for display. Exercise caution displaying specimens that are UV reactive. When your pieces get dirty from display over time take a quick pass with the textile gun and dry.
Any questions let us know and remember, start with a junker!

